Happy Monday everyone! This weekend I got to go with my hubby on my first picking trip. In a word, ick. Now I know why he, and his clothes, come home filthy from these trips. The place we visited was an old garage/shed that was filled with junk. Here are some pics I took of what we were pickin' through.
Yup, a bunch of junk. But, oooohhhhh, did we find some great stuff and it was all free.
There were so many piles of stuff that we
he had to sift through and it was also raining. And gross.
After all that, here's the loot I picked. It still all needs to be cleaned up, but I actually like that part.
We found lots of old solid wood frames that look like they were made from barn wood. Those will be fun to do something with.
And some old wooden crates and a caddy. I never get tired of those.
Some cast iron and vintage kitchen utensils for my collection.
Lots of red enamelware, vintage wine and milk bottles and a vintage Christmas tin.
And one of my favorite things is this old metal tin. I love it! I think it will look so cute with fresh flowers in it. One of my other favorites is this old kitchen stool.
Love this, too, and I'm not planning on doing anything to it but clean it. I think it's perfect and I love the color. I can't wait to put it in our kitchen. And it will come in so handy because we have tall cabinets because of our very tall ceilings in the kitchen and I've been using a dining table chair to reach to the top cabinet, which has been a pain. This will work perfectly! This is our other pile of loot that hubby picked the day before.
More frames, another caddy, kitchen utensils, a couple of vintage yard sticks and a very old metal Pepsi crate. I was thinking that metal Pepsi crate would be adorable with a couple of pots of herbs hanging out in there.
I have fun plans for all these things after I give them all a good cleaning but I saved the best for last. A couple of weeks ago hubby found a couple of sections of salvaged bowling alley floor (something we've always wanted to find) and brought it home. I've always dreamed of making a unique table with salvaged bowling alley floor but had been struggling with what to use for the base. Until I found this today. It. Is. Perfect.
I am super excited to get busy on that project! Here's a pic of the salvaged flooring. It needs to be refinished and cut but I'm excited about that, too! There is something magical about bringing wood back to it's original beauty!
Stay tuned for that! I'd say we had a pretty successful day and I was thrilled he let me come along!
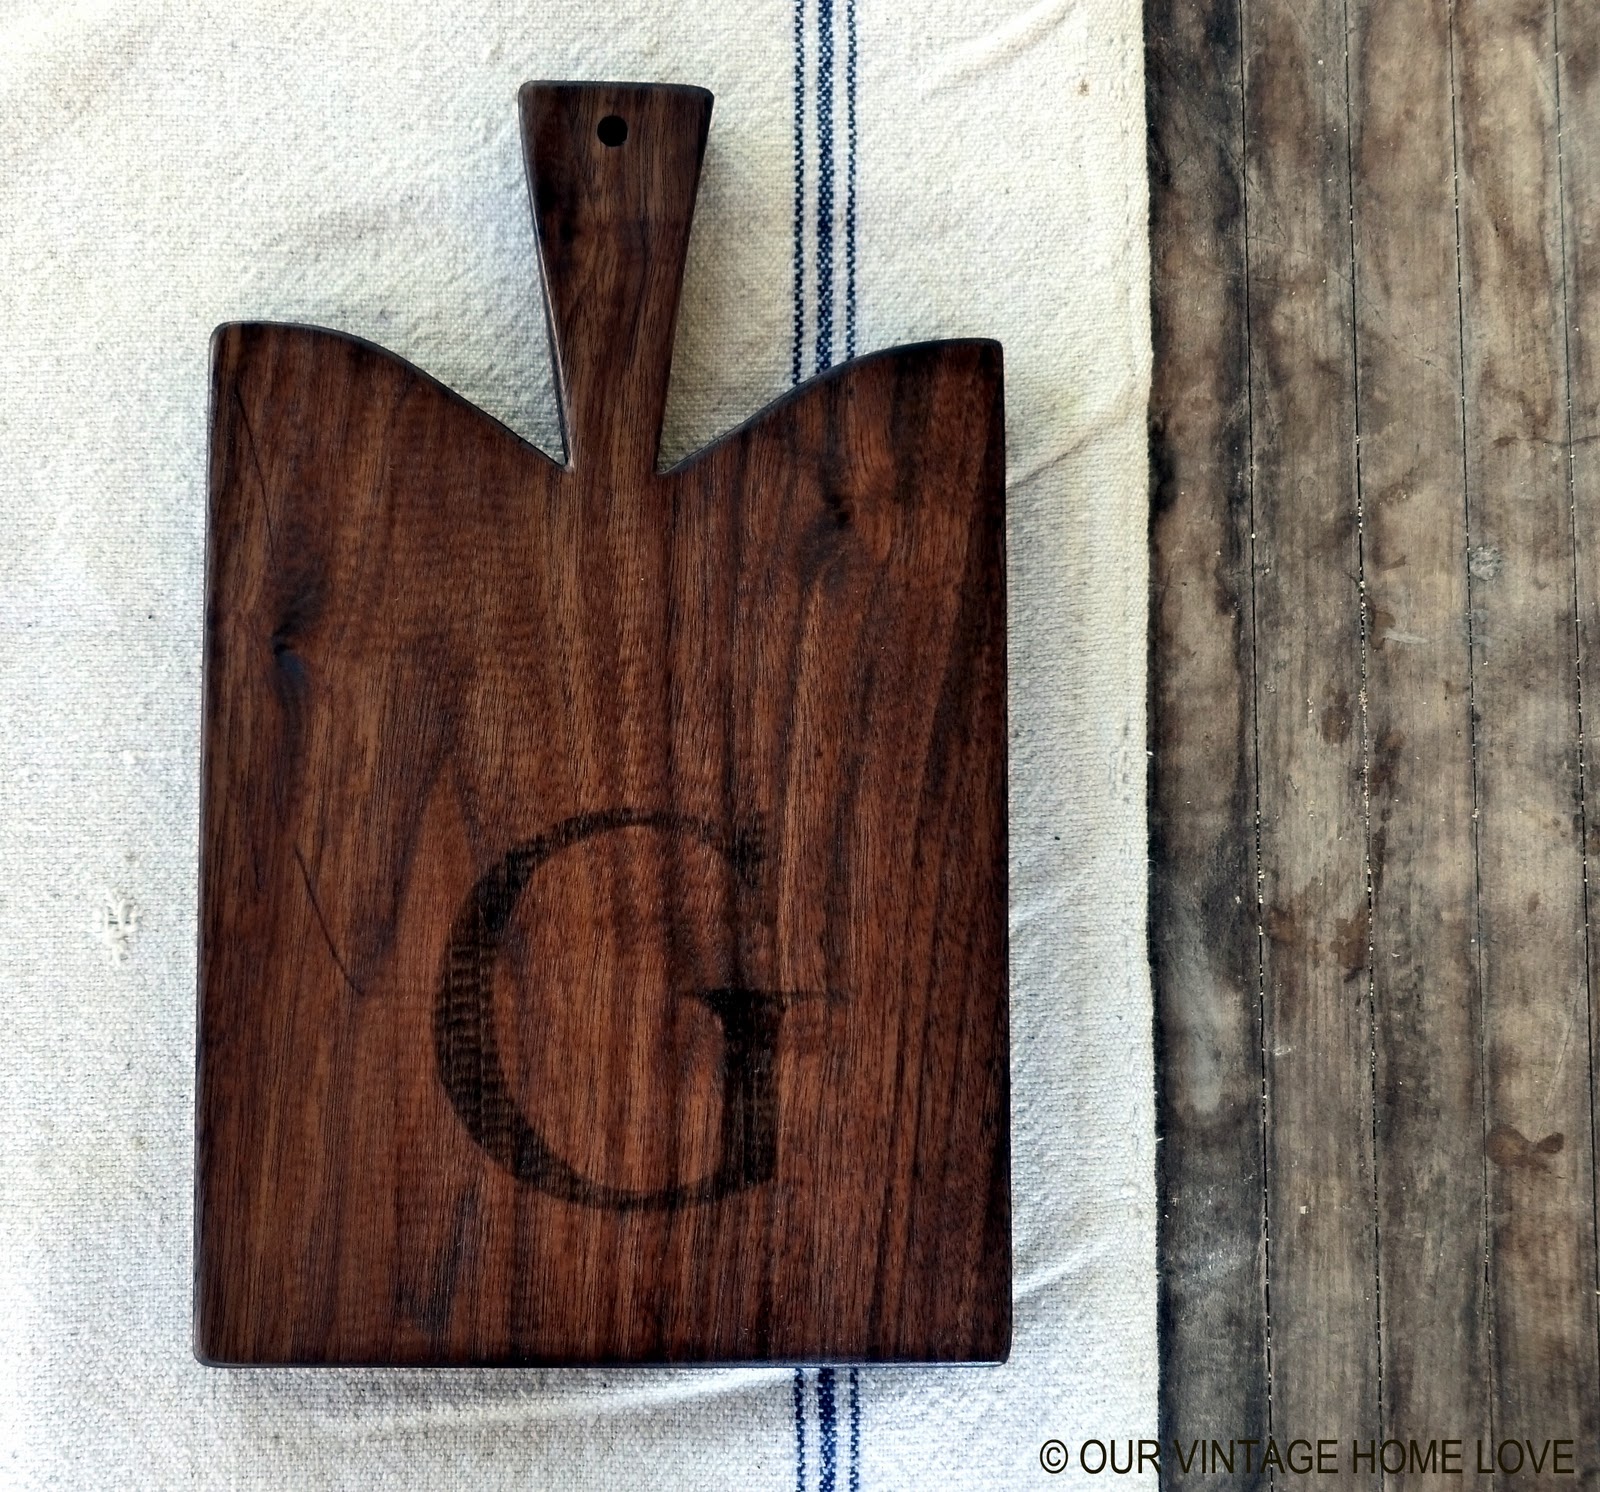
It's Bread Board Monday in my
Etsy Shop! My pre-order waiting list has grown tremendously so be aware that there will be at least a 2 - 3 week delivery time on these. :) Thank you! Have a great day!